Set File Upload properties
Tabs
To collect files in your forms, use the File Upload field, which allows multiple files and customizable settings for types, sizes, and more.

Add field
To add a File Upload field, in the form builder, click the File Upload button in the left Toolbar.

Access field properties
-
Click the Field Label and ID to open its properties panel.
-
In the properties panel, configure the field properties.
Configure field Properties
Set as Required
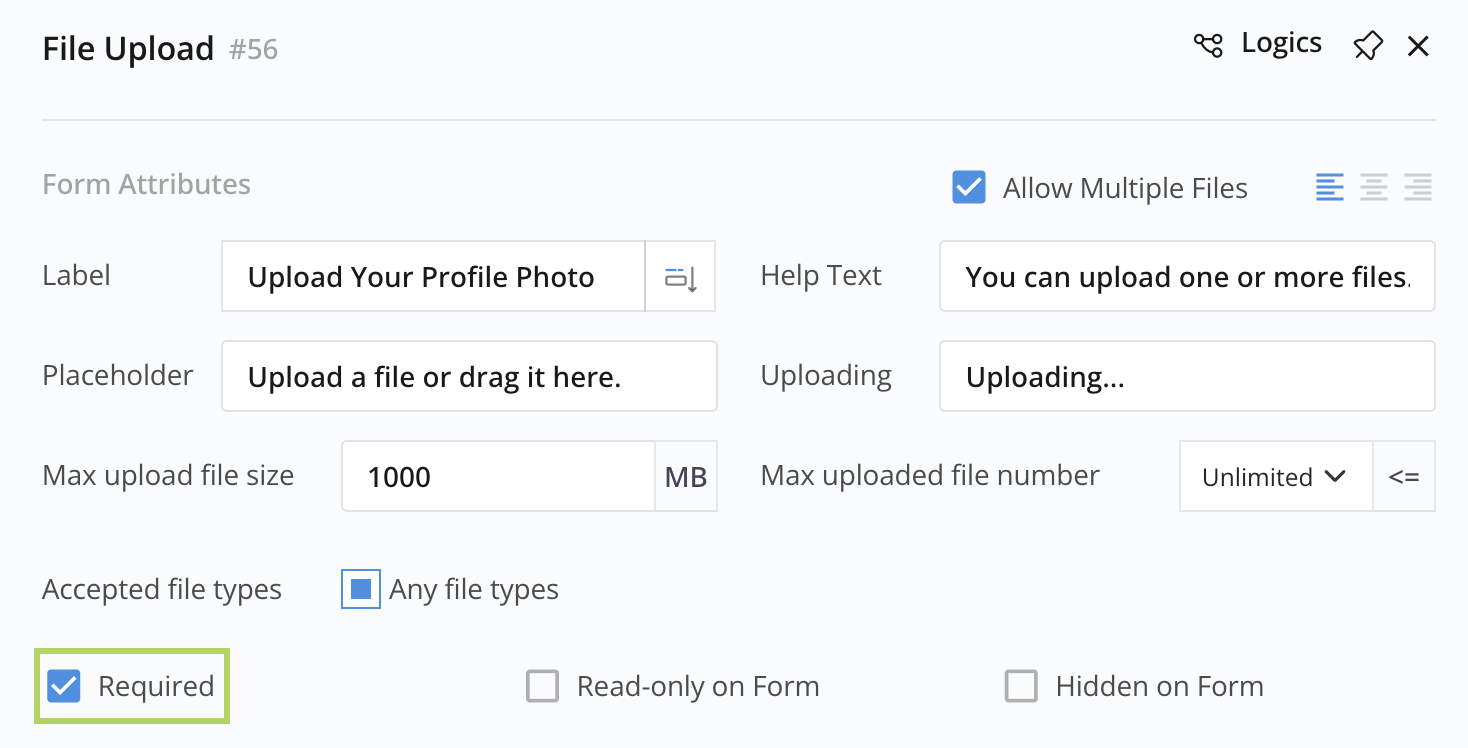
Make the File Upload required, meaning that the respondent need to upload at least one file to submit the form. To enable this, check the Required option.
Set maximum uploads
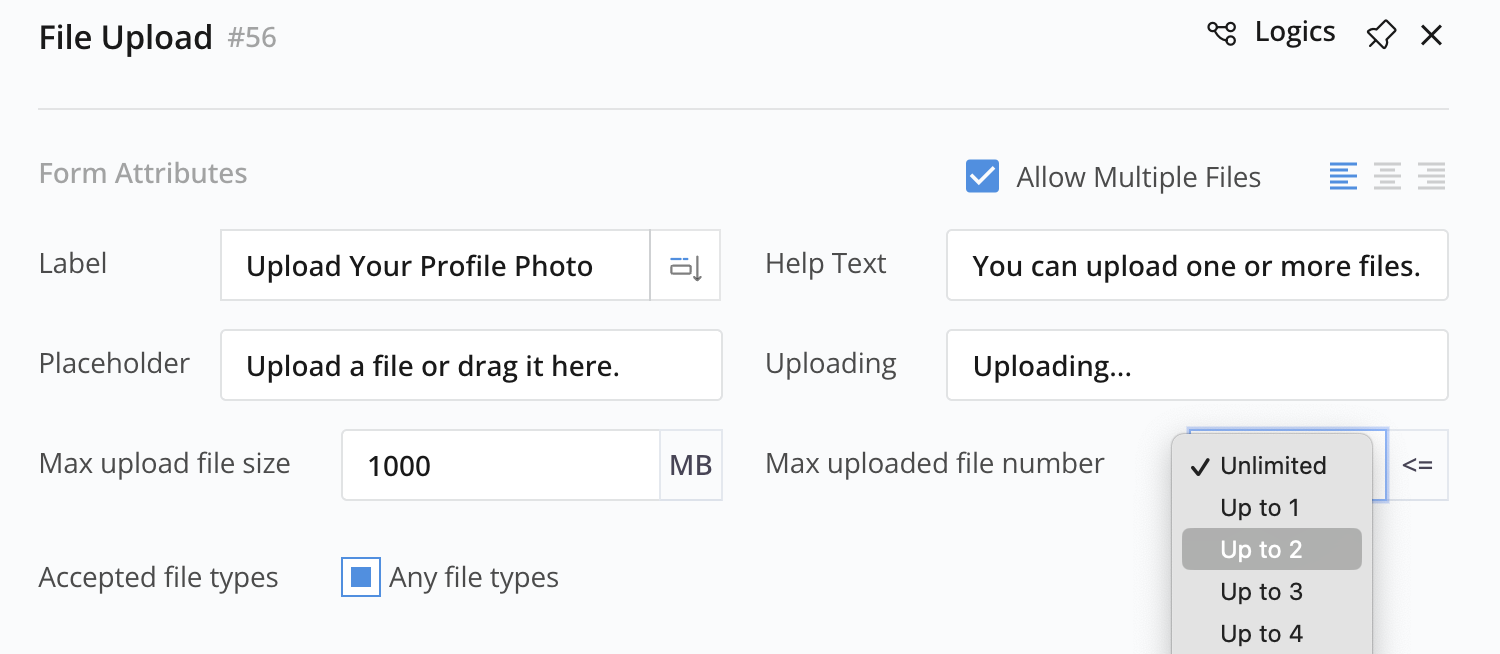
Set a limit for the maximum number of files to be uploaded.
Set maxium size
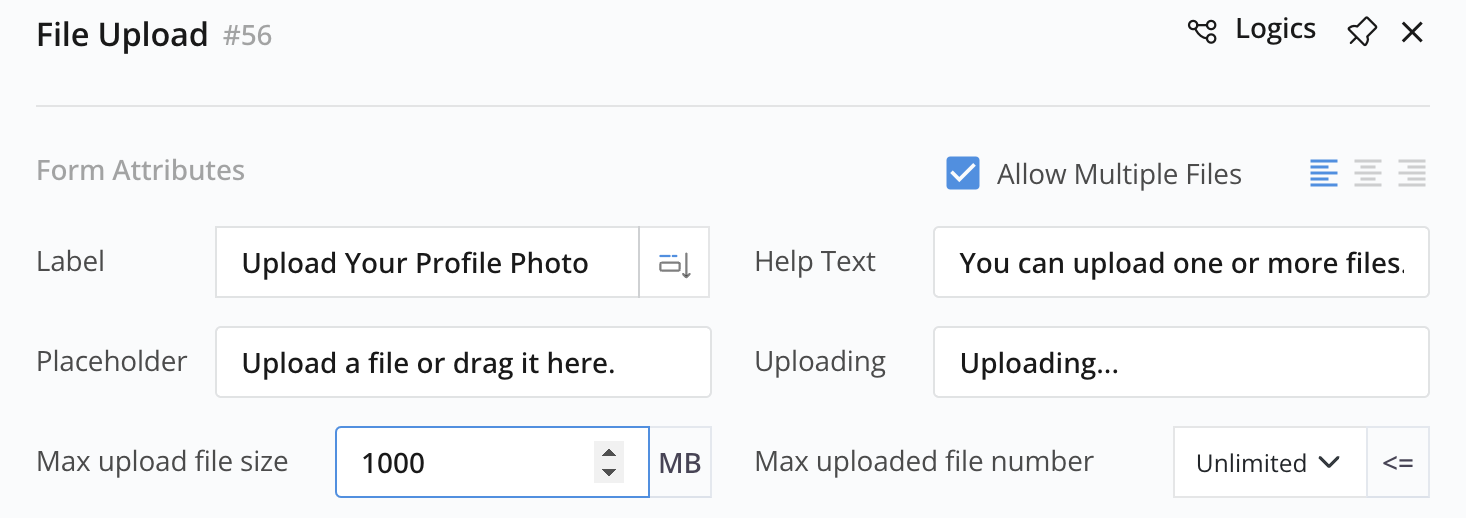
Set a limit for the maximum size of files to be uploaded.
Set allowed file types
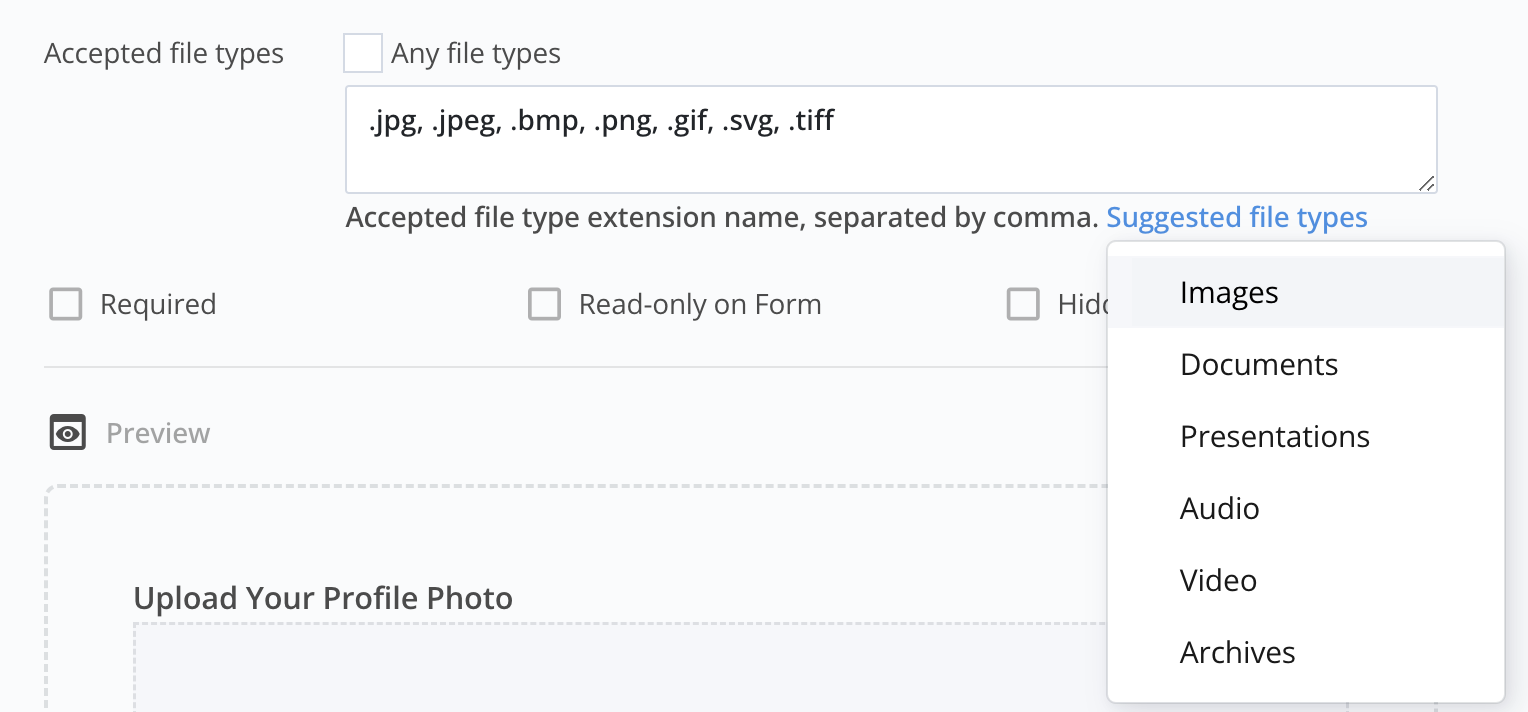
By default, the File Upload field allows any type of file upload with the Any file types option enabled. To restrict the accepted file types:
To limit the file type to collect:
-
Uncheck the Any file types option.
-
Specify the desired file types in one of the following ways:
-
Click Suggested File Types to automatically populate the input box with supported extension names (e.g., .jpg, .jpeg) for the selected category (e.g., Images).
-
Manually enter file type extension names, separated by commas, in the input box.
Note- The allowed extensions are case-insensitive.
- You can list extensions with or without a leading dot (e.g., “pdf” or “.pdf”).
-
If a respondent attempts to upload a file not in the allowed list, the form will display an invalid extension message.
Download uploaded files
Uploaded files are sent as email attachments when you’ve set up the “Email To Address” in the email notification. You can also download these files when necessary:
-
Navigate to Submissions in the left navigation.
-
Locate the desired submission.
-
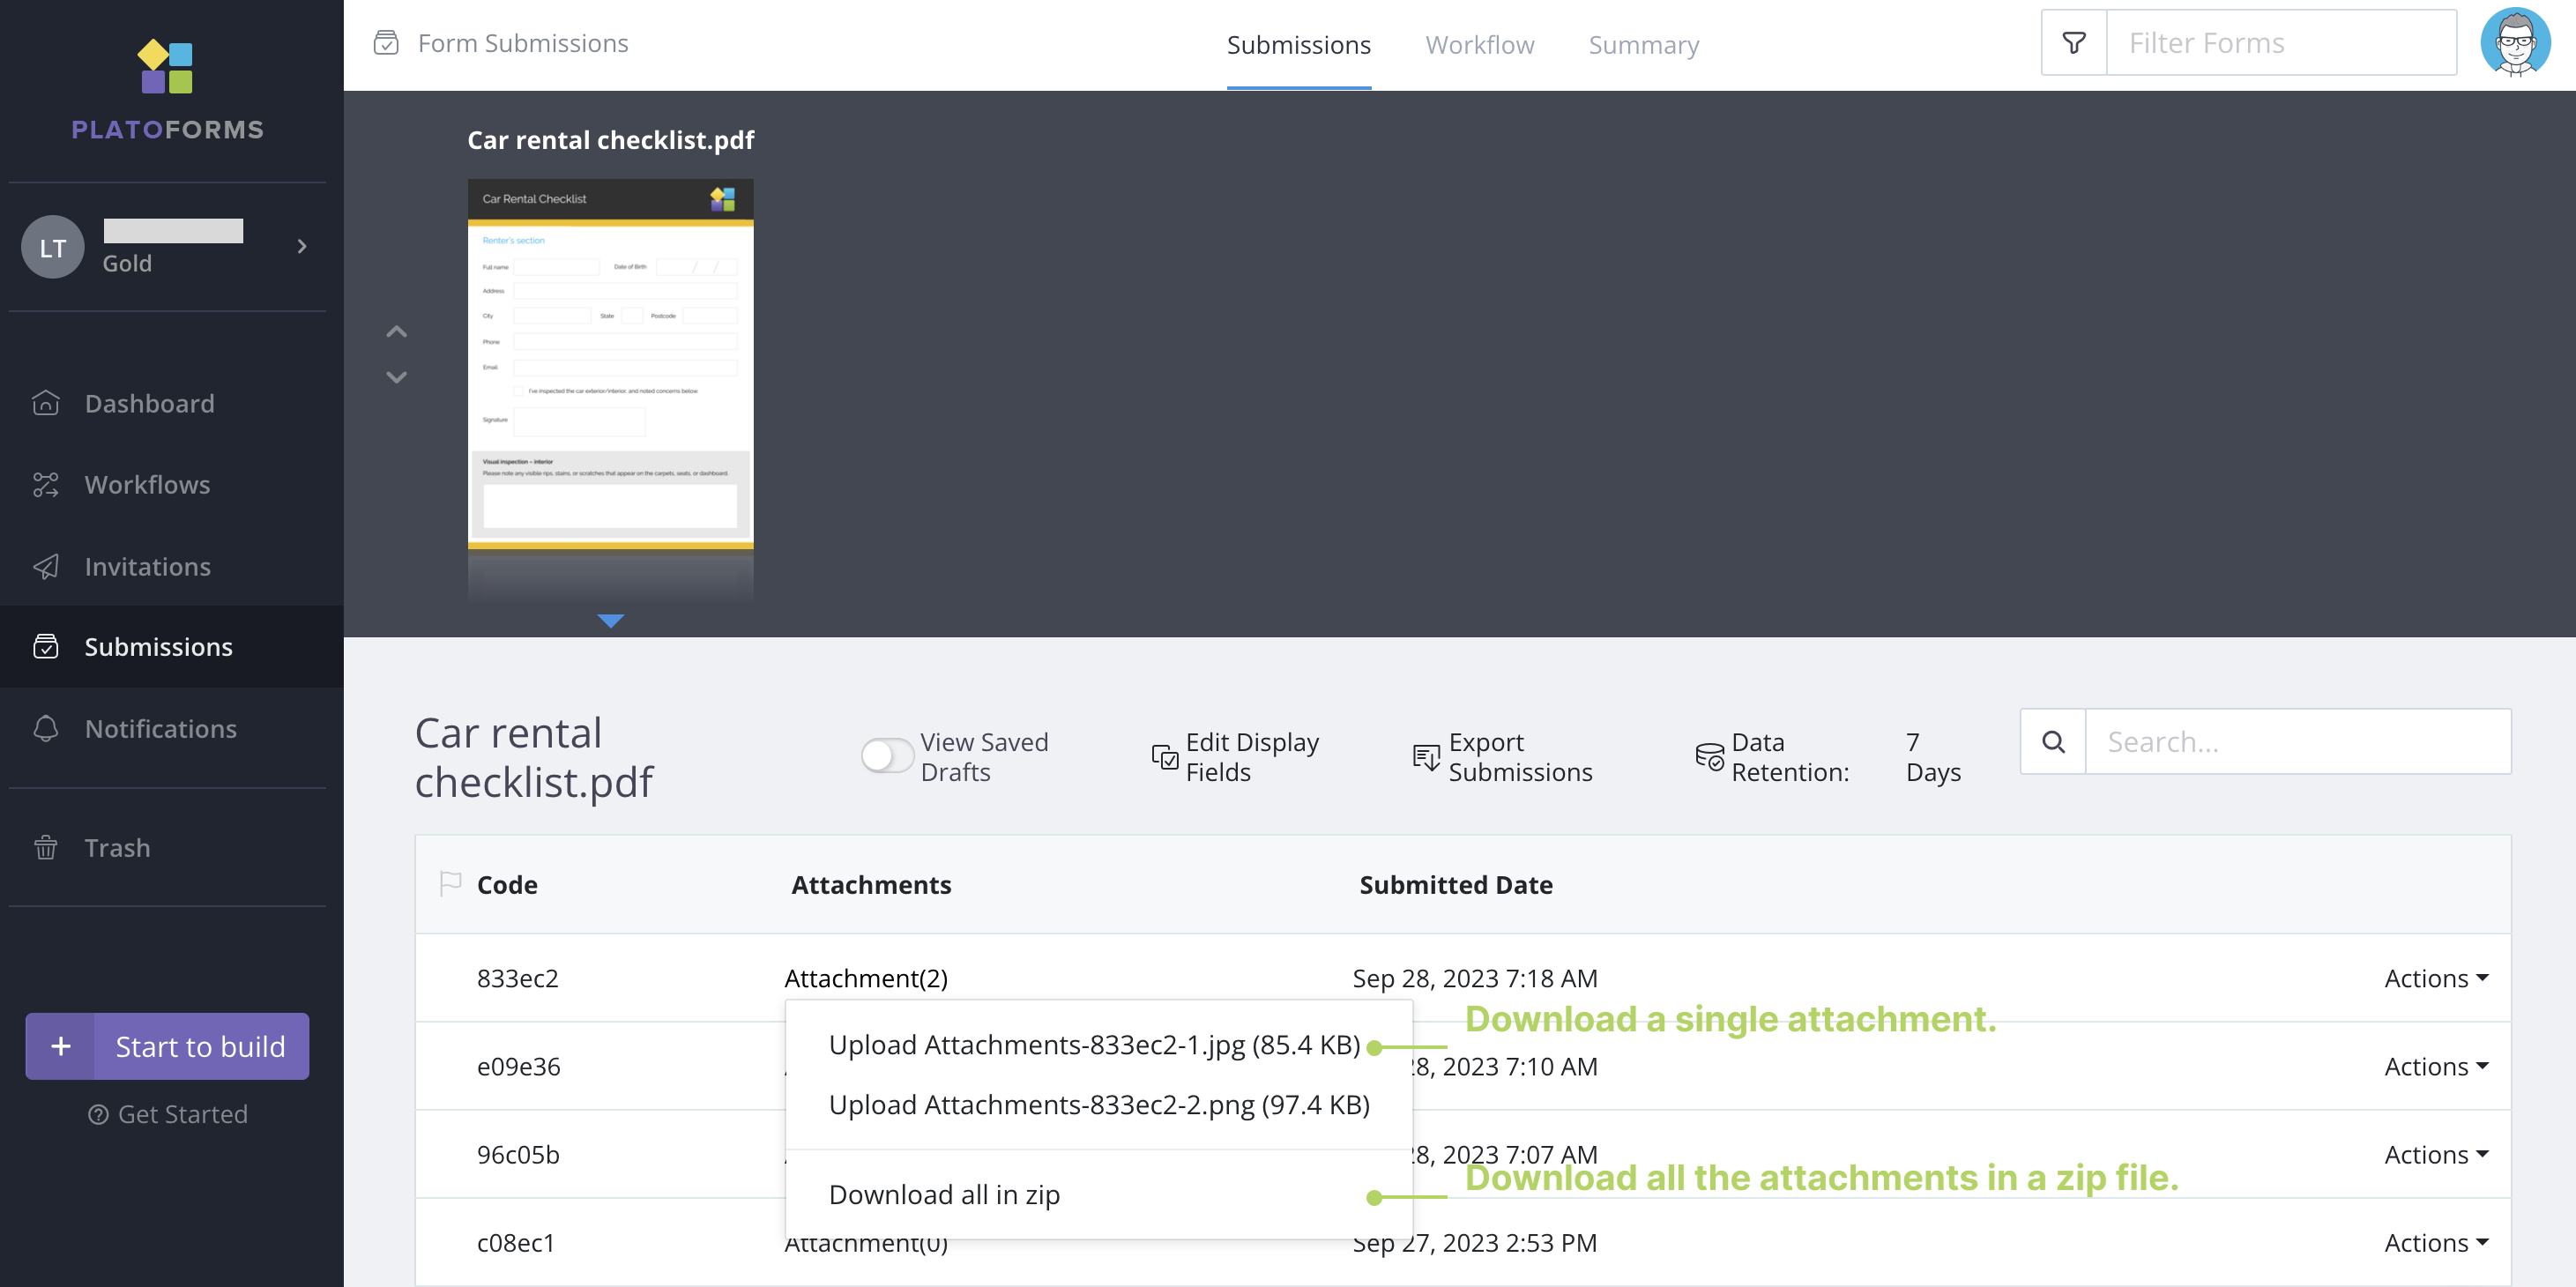
In the Attachment column, click Attachment(x) to download a single file or all attachments in a zip file.
